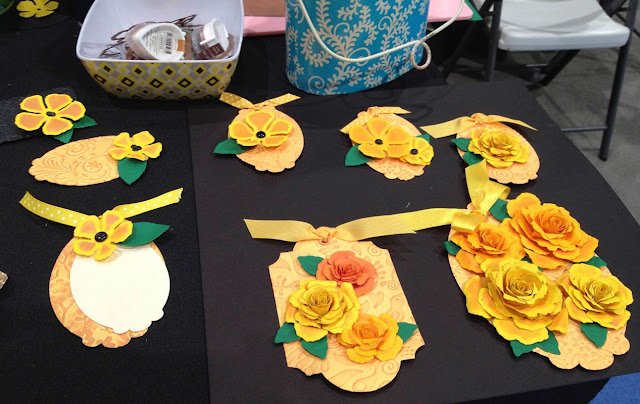
I created this flower tag with die cut shapes and WorldWin cardstock. I wanted to give the students a "hot" summer-time project! I used some of the great yellows and golds in the WorldWin line-up! To print the tutorial for this project, click HERE.
This one is the same size, but I made a rolled rose rather than a "flat" flower. I simply cut the cardstock with Spellbinders Rose Creations and Bitty Blossoms dies.
This one is a larger tag with more roses.
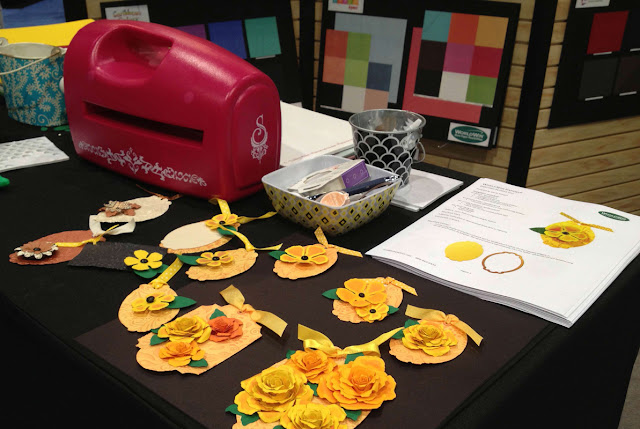
Here are a few photos of the booth.
To see more photos of the booth, with all the fantastic papers and more items made by the DT, click HERE.
~ Gloria (Scraps of Life)
Supplies needed:
Cardstock: WorldWin®
• Petallics® Gold Ore
• ColorMates® Deep Sunshine Yellow
• ColorMates® Deep Emerald Isle
Embossing Folder: Spellbinders®
• Awesome Blossoms (or any embossing folder)
Die cutting templates: Spellbinders®
• Rose Creations
• Labels Ten (or any nested Labels die)
Ink: Fluid Chalk Ink
• Deep Orange
• Deep Green
Ribbon: Swiss Dots Grosgrain Bright Yellow
Mini brad: black
Adhesive: white glue or dimensional foam dots or squares
Hole punch: 1/8 inch


No comments:
Post a Comment